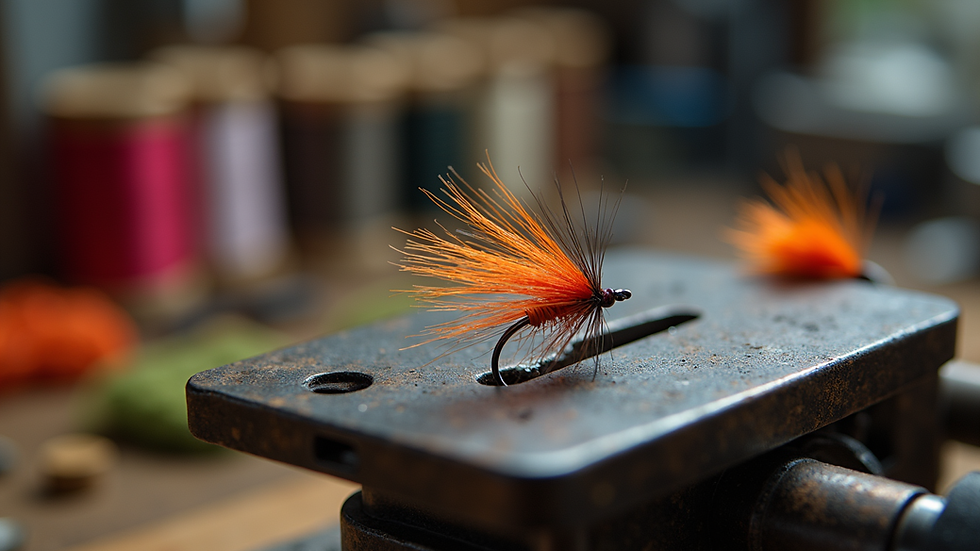
A Beginner's Guide to Tying Your Own Flies: Tools, Materials, and Tips to Get Started
- derrick.llewellyn
- Oct 22, 2025
- 3 min read
Tying your own flies is a satisfying part of fly fishing. It allows you to tailor your flies to suit local fish species and water conditions. More importantly, it fosters a deeper connection to the art of fishing. This guide offers essential tools, materials, and practical tips to kick off your fly-tying journey.

Essential Tools for Fly Tying
Before diving in, gather the right tools. Here’s a list of must-have items:
1. Fly Tying Vise
A quality fly tying vise is crucial. It keeps your hook steady while you work. Look for a vise that is adjustable and has a solid base. Rotary vises are favored by many for their ease of access—these make it easier to rotate the fly to see all angles.
2. Bobbin Holder
This tool holds the thread and allows for smooth tension, which is vital for neat flies. When selecting a bobbin, opt for one with a comfortable grip and a ceramic or stainless steel tip to minimize fraying.
3. Scissors
Sharp scissors are essential for cutting materials and thread. Invest in scissors designed for fly tying, as they typically have finer tips for precise cuts.
4. Whip Finisher
A whip finisher securely ties off the thread at the end. While you can finish without one, this tool greatly simplifies the process, providing consistency.
5. Hackle Pliers
These pliers hold feathers while wrapping them around the hook. Beginners can use a basic pair, which will serve most of your needs as you start out.
6. Dubbing Twister
For those interested in using dubbing, a dubbing twister can help create a tight body. While optional for beginners, it becomes invaluable for more complex flies.
Essential Materials for Fly Tying
Now that you have your tools, gather the materials. Here are some essentials:
1. Hooks
Hooks vary in size and style, each serving a different purpose. Start with a mix of dry fly hooks and nymph hooks. For instance, you might choose size 14 for dry flies and size 10 for nymphs to cover a wide range of fishing scenarios.
2. Thread
Fly tying thread comes in various colors and sizes. For general patterns, a 6/0 or 8/0 thread works well. Choosing thread that matches your fly pattern is essential for a polished look.
3. Feathers
Feathers are key for creating wings and tails. Consider hackle feathers, marabou, and goose biots as starting points. You can often find these at local fly shops or online. For example, a pack of 12 hackle feathers might cost around $5 to $10.
4. Dubbing
Dubbing fabricates the fly's body and can be made from natural or synthetic materials. Start with a few basic colors like brown, black, and yellow to experiment with.
5. Beads and Eyes
Adding beads or eyes can enhance how your flies look and help them sink faster. Beads come in various sizes and colors, allowing you to find the perfect fit for your patterns. A typical pack can range from $3 to $10.
6. Chenille and Yarn
Chenille and yarn create bodies for larger flies and are available in many colors and textures. By mixing and matching these, you can develop unique designs.

Getting Started with Fly Tying
With tools and materials in hand, it's time to tie! Here are some tips to make your start easy and enjoyable:
1. Start Simple
Choose easy patterns that use fewer materials and steps. Classic flies like the Woolly Bugger and Adams are perfect for beginners. They are effective and help build your confidence quickly.
2. Follow Tutorials
Use online resources like video tutorials and step-by-step guides. Watching experienced tiers can reveal techniques you might not think of on your own. YouTube has countless channels dedicated to fly tying.
3. Practice Regularly
Make fly tying a weekly practice. Set aside an hour or two. Don't fear mistakes; they are part of learning. Each fly you tie improves your skills, so keep at it.
4. Join a Community
Consider joining a local fly tying group or engaging in online forums. Communities can offer support, critique, and inspiration. Sharing experiences leads to growth and new ideas.
5. Experiment
As you gain skills, play around with different materials and methods. Fly tying is an art form, so let your creativity fly! Trying colorful combinations or new techniques can lead to unique and effective flies.
Final Thoughts
Tying your own flies can enrich your fishing experience. With the right tools, materials, and a commitment to learning, you can craft custom flies that work well in your local waters. Start with simple patterns, practice consistently, and connect with other fly tiers. Enjoy the journey, and happy tying!


Comments